A walk through tunnel - Other surveys
From Fs_wiki
Now you can repeat the work for the other two surveys
of the cave. For each of them, load the survex data file,
set the XML directory, save the XML directory, and open
a new empty sketch. Then draw the cave map (import the centerline,
draw the walls etc.).
Loops
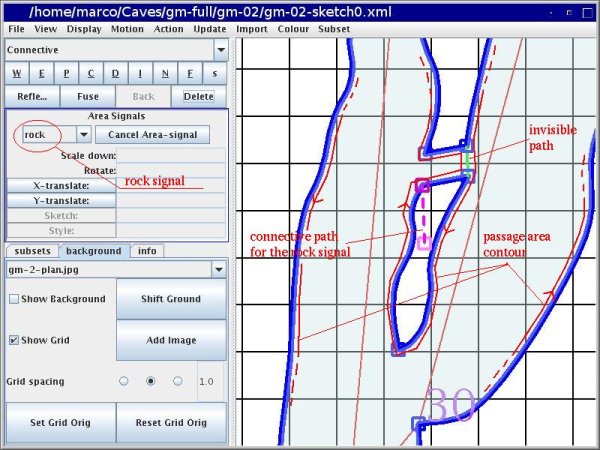
The map of the second survey has a loop around a piece of rock. Loops, ie. closed survey paths, have a portion of rock in the middle, which should be left white in the rendering. However the area algorithm will detect two areas. A big one that covers the loop passage including the rock in the middle. A second area is just the rock in the middle.
To make the rock area white you need to attach a "Rock" signal to it. draw a connective path from a node on its contour toward the inner side of the rock, and attach the signal: button "Area signal" (or menu "Action | Area signal"); select the signal type "Rock".
This is not enough. The big area still includes the rocky region. To exclude this you need to draw an invisible line from the inner contour to the outer contour, so that the passage area contour will avoid the rock. The picture below shows the datails of this procedure.
Sketches
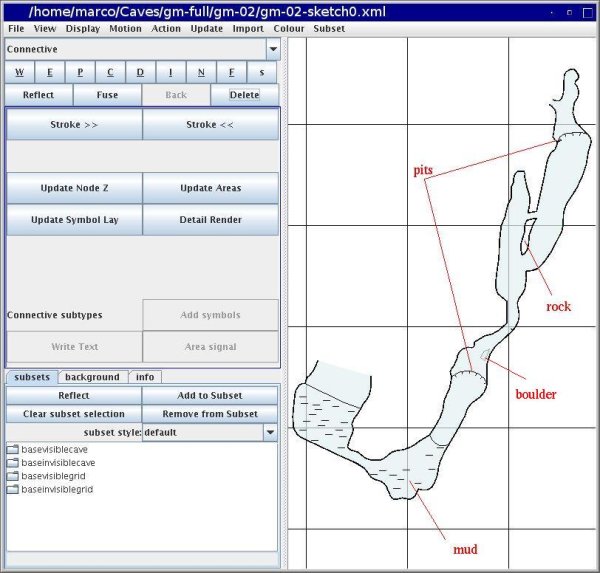
The image below shows the resulting drawing.
Be sure to connect (with a connective path) the internal details drawn with the detail path type to the centerline. Otherwise, when you merge the sketches together the unconnected details will not be moved (and warped) in the final sketch. The following sketch has a boulder drawing in the passage, and it must be connected to the centerline.
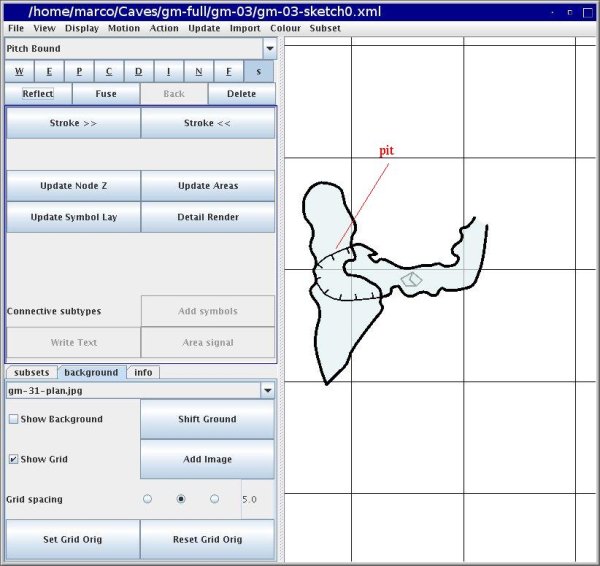
Finally repeat your work for the third survey, as shown in the image below.
In the next section we will learn how to put the three drawings you have created together.


