Surveys and Rigging Guides
? grade 5Underground Description
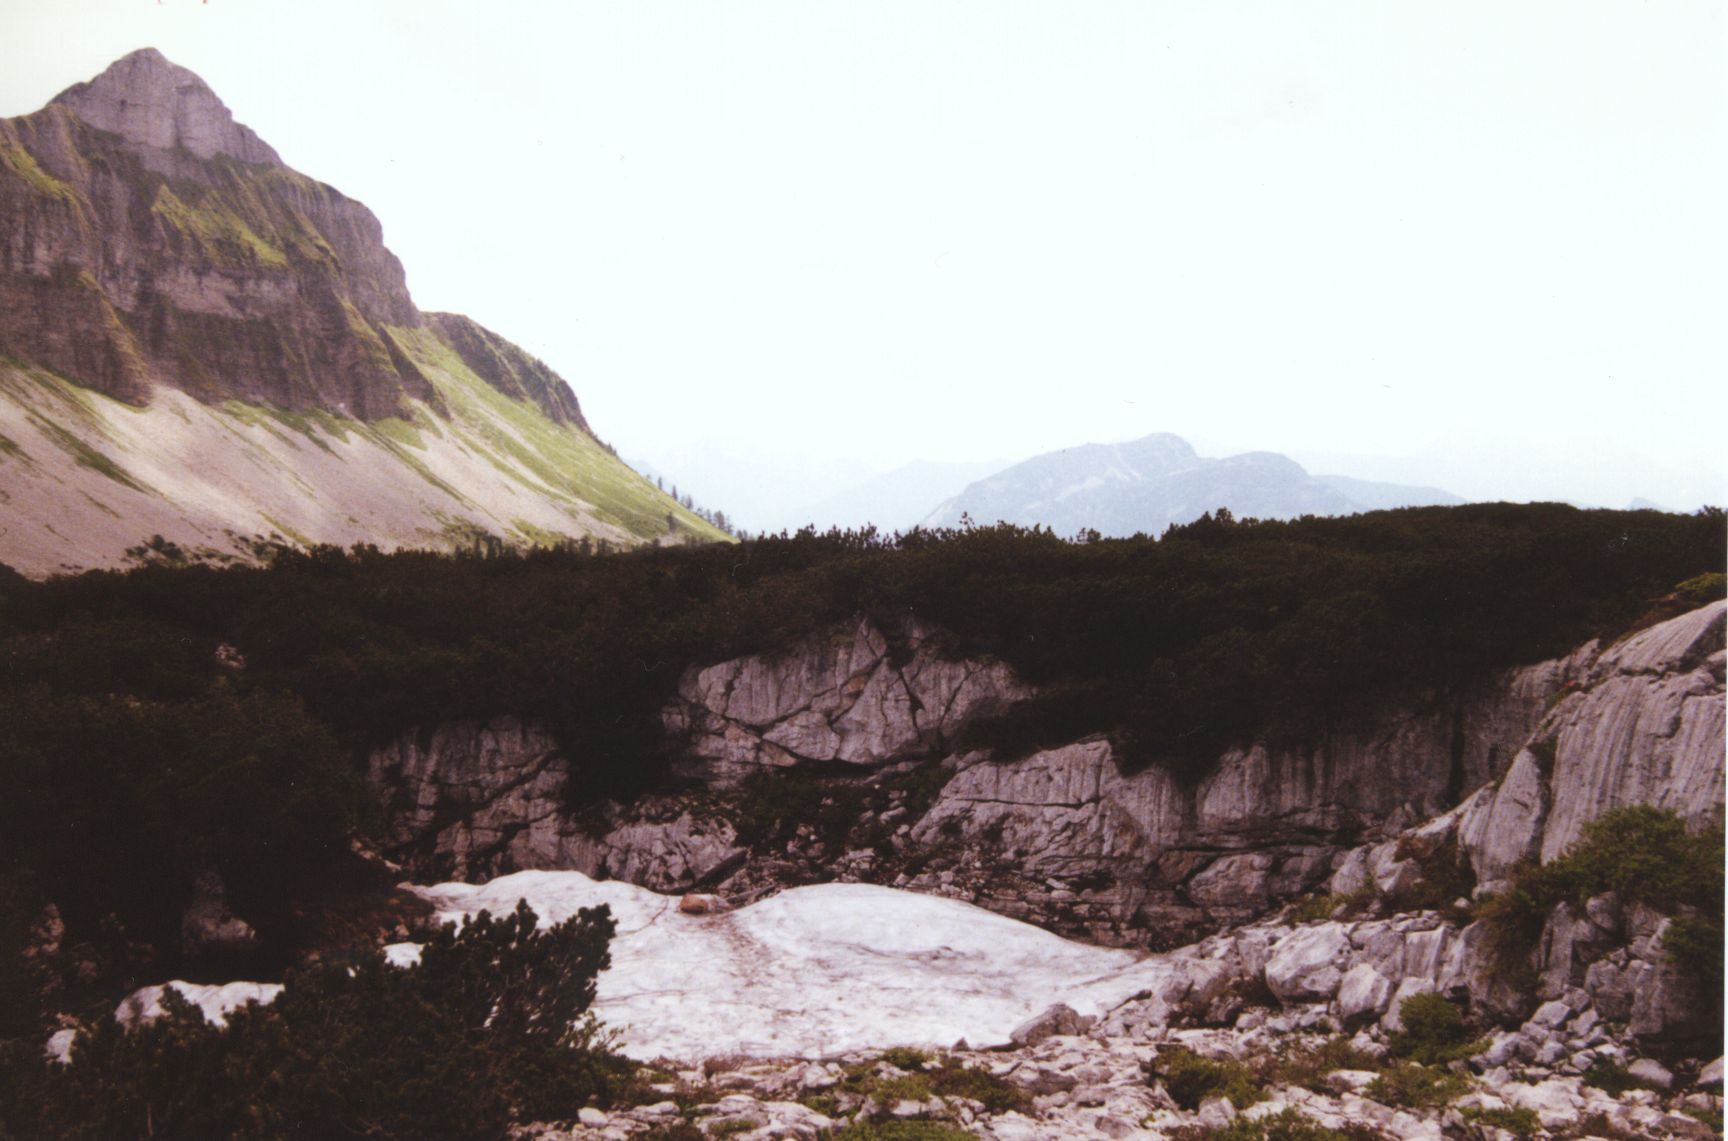
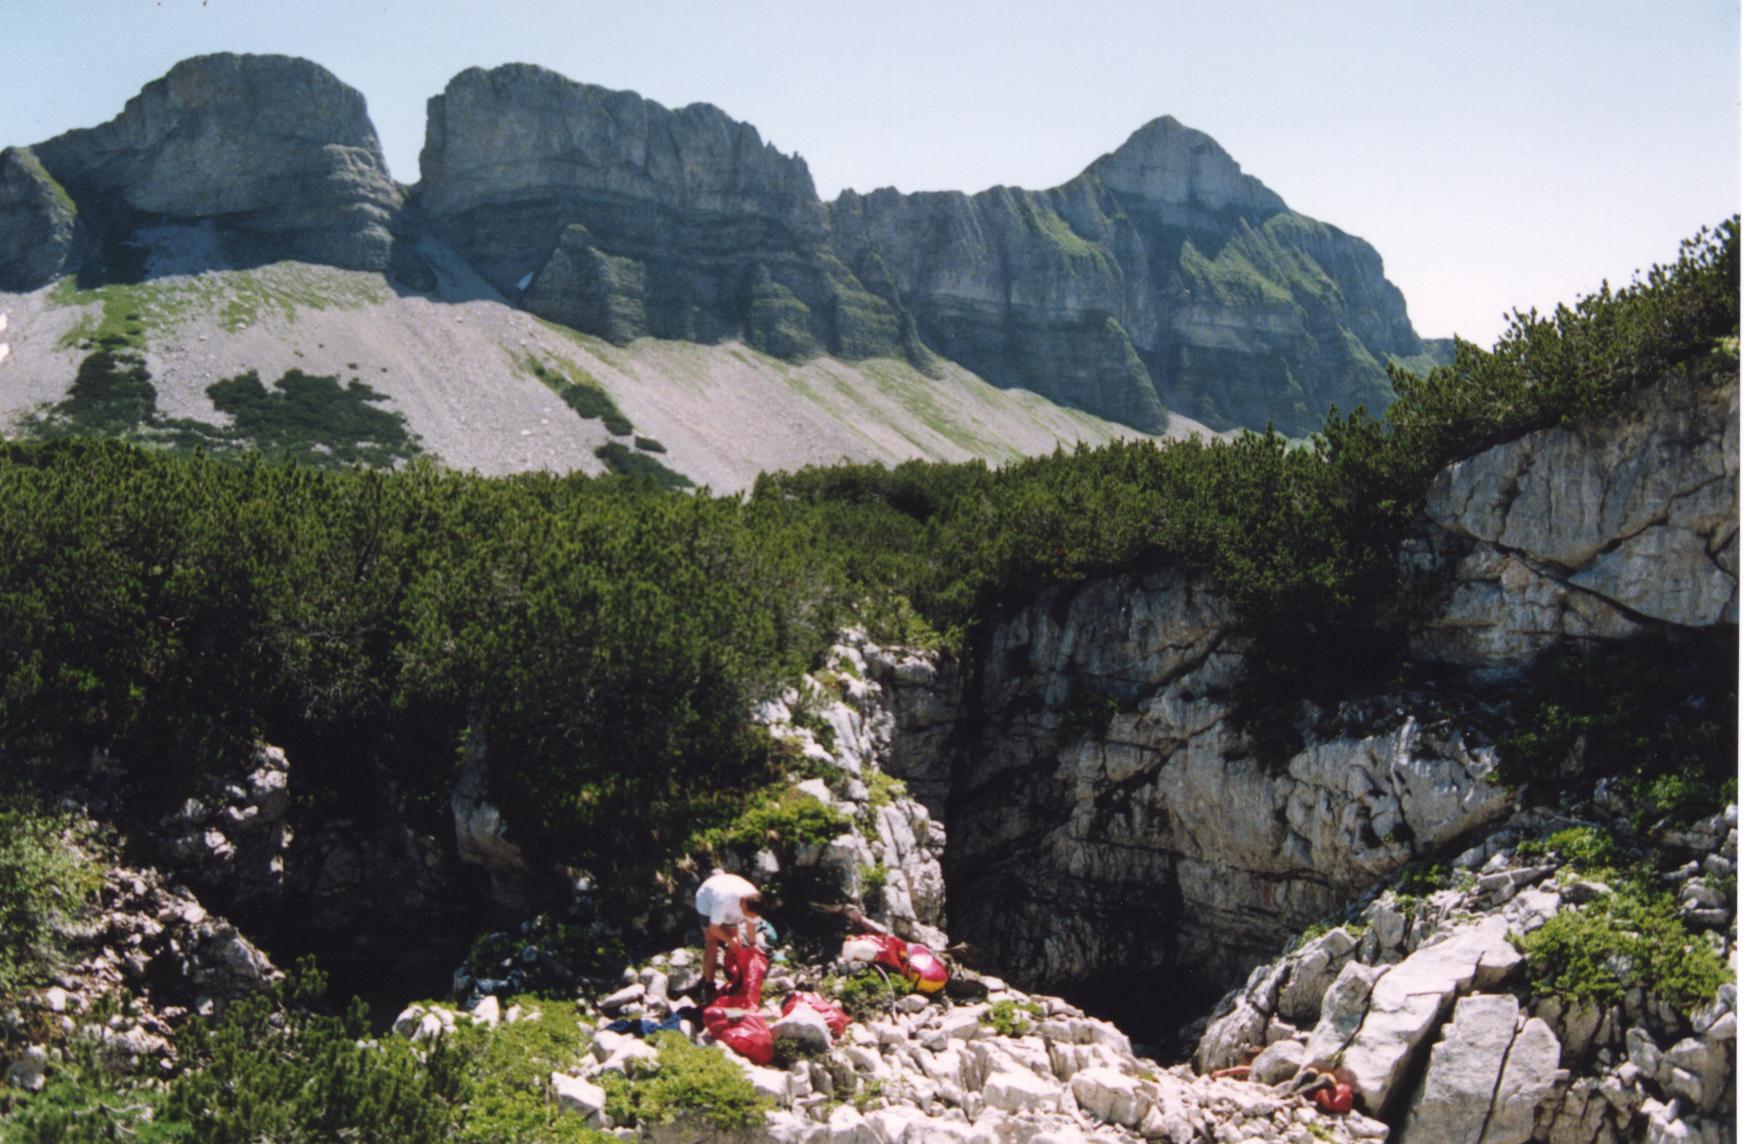
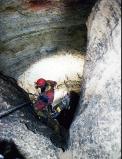
The main entrance joins with a secondary, slightly smaller entrance in a daylit chamber on top of a snow plug. Sky can be seen through a third entrance in the ceiling, which is surrounded by undergrowth on the surface. A hole down the back edge of the snow plug leads to a slither down a partially iced steep (30°) boulder slope, with a low ceiling which soon rises. A large boulder several metres across is jammed across the slope at a few metres further down, below which the boulder slope continues. An inlet to the left just before an ice formation soon becomes too tight. Carrying on, the slope soon gives way to a traverse above a vadose canyon, with a laddered climb (6m) after about 25m. It is possible to continue along the top of the rift all the way to above the top of shell pitch. It is much more spacious than below but has a couple of bad steps.From the bottom of the ladder, the passage soon drops down a climb of 2m. Then there is a winding, rifty passageway, named "Magic Mushroom Passage" due to the peculiar mushroom-like formations on the walls. These, together with the white dusty look of the walls in places, give the cave its name. After 100m the rift widens, and a traverse develops above a narrower rift below. The upper level may be followed to above the first rope pitch, but the more usual route is to climb down a rock pile into the lower rift (40cm wide), which is known as the Yorkshire Ripper, due to the effect of the sharp, narrow rift on oversuits, and the Yorkshire feel of the cave at this point. After 15m, relieved at one point by a small alcove with an irritating spray of water, the narrow rift widens, after a final flourish, to the head of the first rope pitch (6m).
Shell Pitch
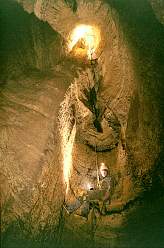
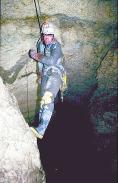
Carrying on from the base of the pitch, the tiny rift in the floor deepens, and traversing along leads soon to the head of Shell pitch (19m). Descending gives a fine view of the chamber, the walls of which contain many large bivalve fossils (hence the pitch's name). From this chamber, a short traverse leads to a junction. Left is an unclimbable aven, whilst to the right is Piezo de Resistance, described below. The main route is currently down Q8 pitch which is broken by a ledge after 16m. After a further 9m and a rebelay, a pendulum through a window to one side leads on. Descending further, the shaft stops after 19m and a further rebelay. There are no passable ways on from the bottom (Strike One).
After the pendulum, a vast army of rebelays lies in wait (Dot to Dot), eventually ending in a larger pitch (25m) the bottom of which, again, has no ways on (Strike Two).
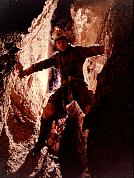
Yet again, a pendulum (at -14m) yields more cave (Bottom Bypass). A dubious 11m hang leads to a ledge. At one end of the ledge, ducking under an arch enters a chamber at the bottom of a high shaft (Lady's Loo), down which a vast torrent pours in wet weather. A further 9m down from the ledge is a floor. Progress can be made along the top of a slimy keyhole shaped rift (Tarzan's Folly) which is irritating to pass, especially with tackle. After 20m, a false floor appears and a few metres further on is The Dark Room, a high chamber with dark, textured walls. A waterfall cascades down from unfathomable heights, and pounds onto a ledge to the back right of the cavern.
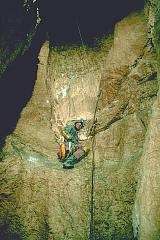
Climbing down a slimy slope (which in an ideal world would be lined) the way on is along a rift which exits from the rear of the chamber on the left side. The rift has a couple of false floors in it. The middle level leads to the head of the next pitch: Natural Redundancy (11m) is reached after about 10m. The rope is belayed to a large chock stone at head level, then to a bolt about two inches from a beautifully rounded thread, hence the name. Cyclotron pitch follows immediately, then comes Quark, Strangeness and Charm, a rift passage with many possible traverse levels. In places there are flowstone bosses, and near the roof, some odd tippex stals can be seen. The formations are only notable due to their rarity in the caves of this region.
 |  |
| Cloud Chamber | Quark Strangeness & Charm |
At the end of QS&C, the passage sweeps round to the left as the floor drops away into Cloud Chamber. The pitch is broken by two rebelays. The grade 5 survey stops about 20m back from the pitch head. The details of the passage leading to the next pitch are uncertain, although the consensus is that it is around 20-30m long, and fairly straight. The lack of information led to the name Amnesia Alleyway. The next pitch is NDE, an acronym for "Near Death Experience" , since a party of cavers was flood-pulsed just below this pitch during the initial exploration. This incident also named The Delicate Sound of Thunder, another rift passage with a traverse along to a pitch (Traditional Style - laddered in 1991, marking the end of exploration that year).
After the first 5m slope to a rebelay, Traditional Style drops 12m (with one deviation) to a wide shelf. At the right hand edge is another 12m pitch. This lands in a muddy area which quickly becomes a very muddy steeply descending rift. An 8m pitch (2 bolts, Y-hang) a bit of clambering and a 5m pitch (one bolt) get you to a washing-up-bowl-sized sump at -292m.
5m up on the left hand wall (by the last bit of string) is a muddy crawl. This is below the 'tide-mark' of the sump so is somewhat oppressive. It leads, after 8m to a high parallel rift. A couple of 2m climbs ahead lead back down to another, slightly larger, sump. The rift rises at least 20m, apparently without connecting back to the main descent route.
Piezo de Resistance
From the head of "Q8" pitch, an alternative route may be followed along a rift on a fault at 20-200°, hading 80° to the west. Taking the passage to the right, a traverse develops after 10m. Water sinks into a hole in the floor after a further 10m, and beyond this, is a 9m pitch, followed after 10m or so by a longer pitch of 16mm.
 |  |
| Crow's Nest | The Chimney |
This lands on a ledge with an obvious continuation below, but the route, to keep away from potential water, takes a much more interesting route. It goes up a 6m pitch to the Crow's Nest, a narrow rock rib separating two parts of the shaft. This was originally reached by a bolt traverse round the right hand wall. From the Crow's Nest, The Chimney drops 30m in typical Puffball triangular pitch (elliptical joint-aligned phreas cut down on lower side by vadose action). The rope stays resolutely on the upper side with a series of epic hanging rebelays.
At the bottom a 34m freehang lands in the Darkroom, but the bottom of this is in the waterfall (noted in the Darkroom description), so the route goes through a window near the top of the hang which gives a nice dry 30m hang.